Have you ever looked at a car in a showroom or perhaps even just as you passed by on the street and wondered how they got the paintwork looking so good? Those wizards of the automotive world, the professional car detailers, have a number of tricks and techniques hidden up their sleeves, allowing them to present cars in such a way that is usually way out of the reach of mere mortals.
As mentioned, there are tricks and techniques - but that doesn't mean they are secrets. One tool which appears to be kind of ignored by the general public is the clay bar. Up until about ten years ago, clay barring your car was something that was only done by professional detailers. Today, much of the mystery has been removed, and it's a job you can comfortably tackle yourself in preparation for applying a protective coat so professional it might just ask for a promotion.
What is a clay bar?

So, first things first. What is a clay bar? It's a handy part of the car valeters tool kit, generally made of a natural or synthetic resin, although most manufacturers go for a synthetic compound, which gives a similar elasticity to putty or modelling clay. This texture allows the bar to be stretched, rolled and flattened as you work it across your car's paintwork. A bit like putty, you'll probably find it requires some manipulation to make it pliant.
Today, there are various types of clay bars, including some easier-to-use options in the guise of mitts and sponges, which can be washed after use. No matter which type you choose, they all do the same job - remove impurities from your car paintwork. Brake dust, rust, tree sap, tar spots and many more contaminants can build up on paintwork over time and can eventually resist the efforts of ordinary car shampoo to remove them. A clay bar works in a similar way that a razor removes hair from skin. It shaves off surface contaminants as it glides over the surface, and the stickiness of the clay collects them and embeds them into the clay bar, leaving a smooth, clean surface.
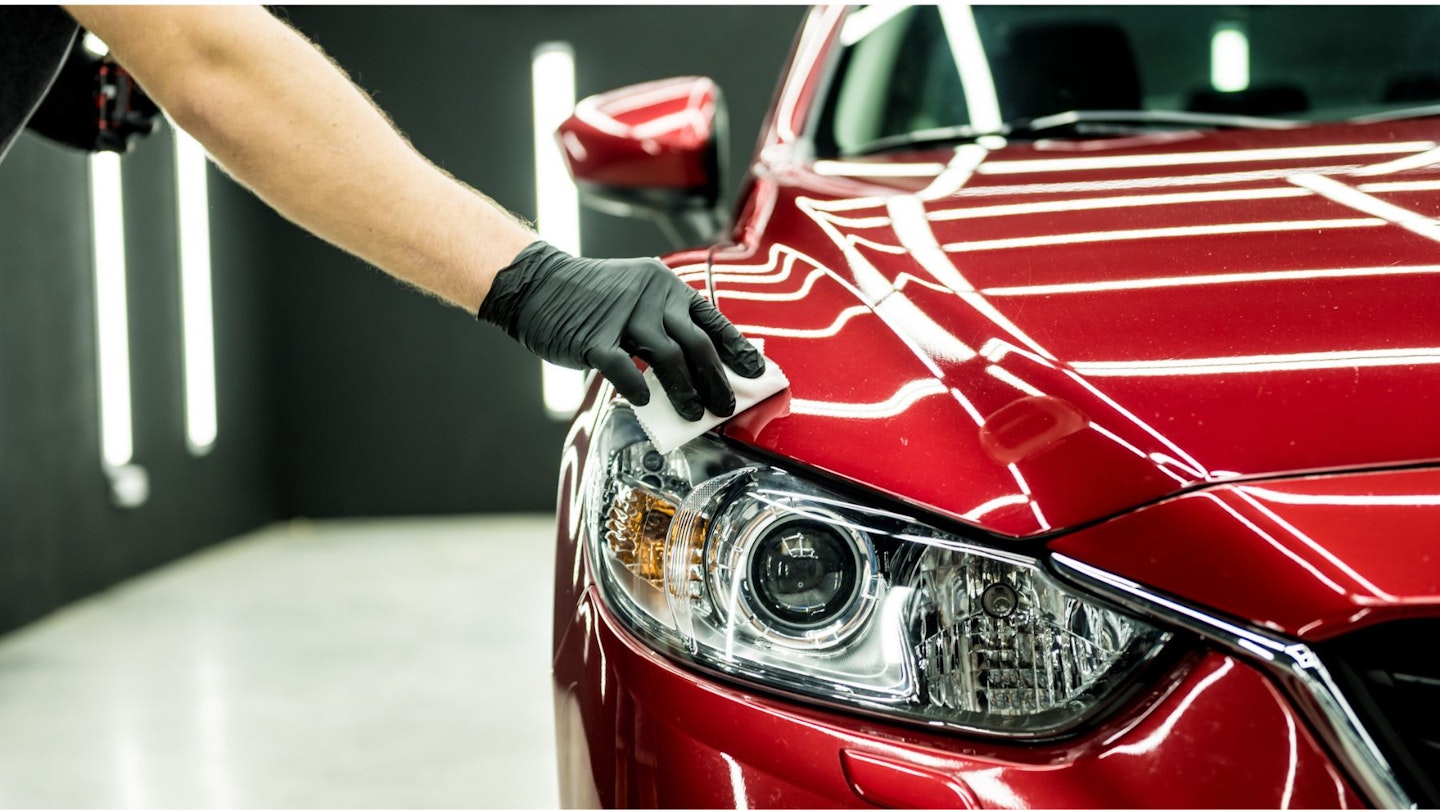
It's worth noting that just clay barring your car will have very little effect on its appearance; no, this is just the backstage pass before the grand performance. What it does, though, is remove that rough feeling you get if you run your hand over untreated paintwork, giving it a smooth glass-like feel and preparing it for any finishing products you'll use. Otherwise, you're just giving the paint contaminants a protective coat. It's at the final stages you'll reap the benefits and be able to see and feel the fruits of your labour.

How to use a clay bar
You don't need to do too much prep to clay bar your car. As long as you've given the paintwork a good clean, all you need is:
• A clay bar (or two)
• Clay bar lubricant
• A microfibre cloth (or two)
• Some time (probably about 30 minutes)
There are different grades of clay bars available. You could compare them to sandpaper - some are very fine, which would suit new cars or cars which have very little contamination, right through to the more aggressive clay bars for paintwork that hasn't been treated for many years, is heavily contaminated or is suffering from paint overspray. For most purposes, a medium clay bar should be more than adequate.
Next, you'll need a lubricant. It's not advised to use water on its own. Soapy water is a passable alternative, but you'll get the best results using a basic detailer spray or a clay bar lube.
To start, it's best to break the clay bar in two. This gives you a more manageable size of clay to work with, and it keeps some in reserve should the first piece become overly dirty. It's important to note that if you accidentally drop the clay you are working with, you must dispose of it and use a new piece. Due to the nature of the clay bar, the chances are that it will pick up some dirt or grit, and you could end up scratching your paintwork.
When you start handling the clay bar, you'll find it has the consistency of a putty, so you need to work it a bit to make it more malleable and pliable. Once softened, you should roll it into a ball and then flatten it against the palm of your hand to make a suitable working disc or square - whatever you feel most comfortable with.
Starting the process

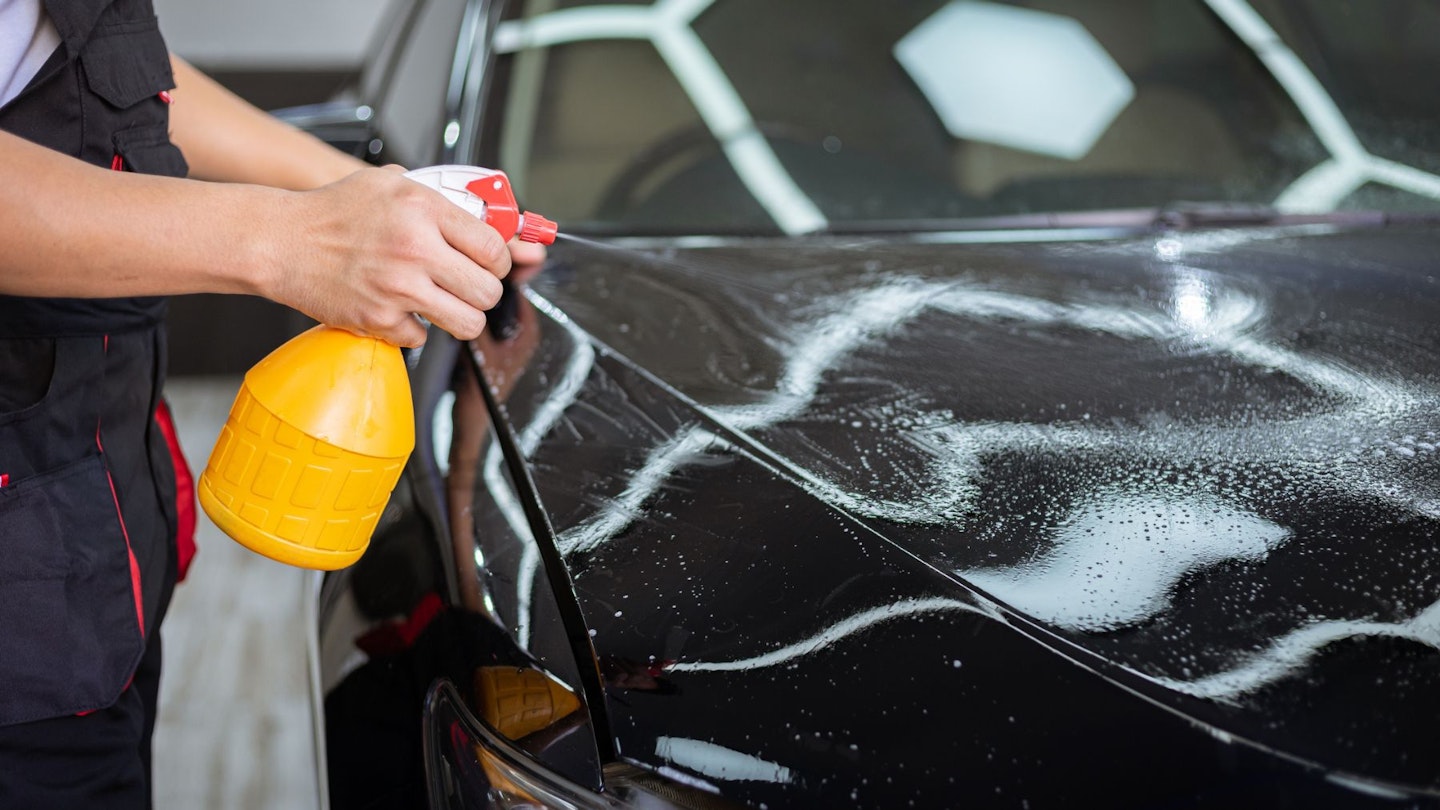
Take your lubricant and liberally spray the area of the panel you want to work on. It's recommended to work on small areas at a time. Start by moving the clay bar either up and down the section or left to right across the section, but do not employ a circular motion and don't press too hard; let the bar do the work for you. Remember that you're removing impurities from the paintwork, which means they will be transferred to the surface of the clay bar, so once you finish a section, fold the clay bar in half, then stretch it again, ready for the next section of bodywork.
After completing each section, wipe it with a microfibre cloth. This will clear away any remnants of lubricant and allow you to assess the area you have worked on. If any imperfections remain, you can deal with them before moving on to the next section.
If you work methodically, completing small sections as you go, it shouldn't take you more than half an hour to do the whole car (depending on size, of course).
Once you've completed clay barring your car, you can move on to the next step of polishing, waxing or sealing your paintwork. This is when you will really see a big improvement and be able to appreciate your earlier efforts.
Clay barring is something that only needs to be done a couple of times a year - most pro-valeters will recommend doing it before and after winter.
_Alex Boyd _is a Commercial Content Writer at CAR and Parkers and loves travel, gardening, DIY and music.__
