The idea that you can use cola to clean your car's headlights is the sort of suggestion that slurs from the bloke down at the local pub who always gives advice on everything.
It's an intriguing option for two reasons. Firstly, if true, it means that man perched precariously on the barstool would be right for once. Secondly, if cola can be used for such a task, what on earth does it do to your insides?
The alternative is exploring the range of products dedicated to the job of restoring clarity to your headlights. And it's these, rather than cola varieties, that we are looking at here.
Jump to:
What do I need to know?
Such kits vary in terms of what you get. The most comprehensive headlight restoration kit will have a number of sanding pads, a polish, a sealant and perhaps a buffing cloth, too. Some more basic kits will provide just the sanding discs, polish and pads.
Equally, some kits are intended for use with a power drill and some by hand. The difference between the two is that the former comes with a drill attachment for the sanding and buffing pads.
There are extras you will need in addition to the kit to complete the job properly. Masking or electrical tape is a must, to put around the headlights in order to spare the surrounding paintwork from unwanted interaction with the sanding pads.
Sealant is a must too. In the same way that you apply a paint sealant or wax to polished paintwork to protect it, a sealant must be applied to headlights after using the polish. There may be a kit you quite like but does not possess a sealant but don't be concerned about this because you can buy appropriate sealants (recommended below) separately.
We'll go through this in more detail presently, but take your time when using the kits. They're simple to use but do require care.
The best headlight restoration kits:
Editoru2019s pick
Meant for use with a power drill, the Holts kit is both fast and effective. It includes everything you need apart from masking tape. It's also great value. Depending on the size of your car's headlights, you will get a few restorations out of this kit before the polish and sealant runs out.
Contents:
Plastic polish, sealer, four professional polishing cloths, 2000, 3000 and 5000-grade sandpaper, one sanding block.
Best for use by hand
Using this Quixx kit by hand takes longer than the Holts kit with a power drill, but is just as effective. But the volumes are less, so it isn't as good in terms of value and won't give as many polishes.
Contents:
Plastic polish, sealer, four professional polishing cloths, 2000, 3000 and 5000-grade sandpaper, and one sanding block.

Autoglym is a name many trusts and with good reason. Its headlight restoration kit (for use with a power drill) has a very good compound that is effective at clearing hazy headlights. However, it is not the best value and does not come with sealant.
Contents:
Headlight Restoration Compound 100ml, compounding pad, 10 x sanding discs, two foam sanding discs, drill backing plate, microfibre cloth.
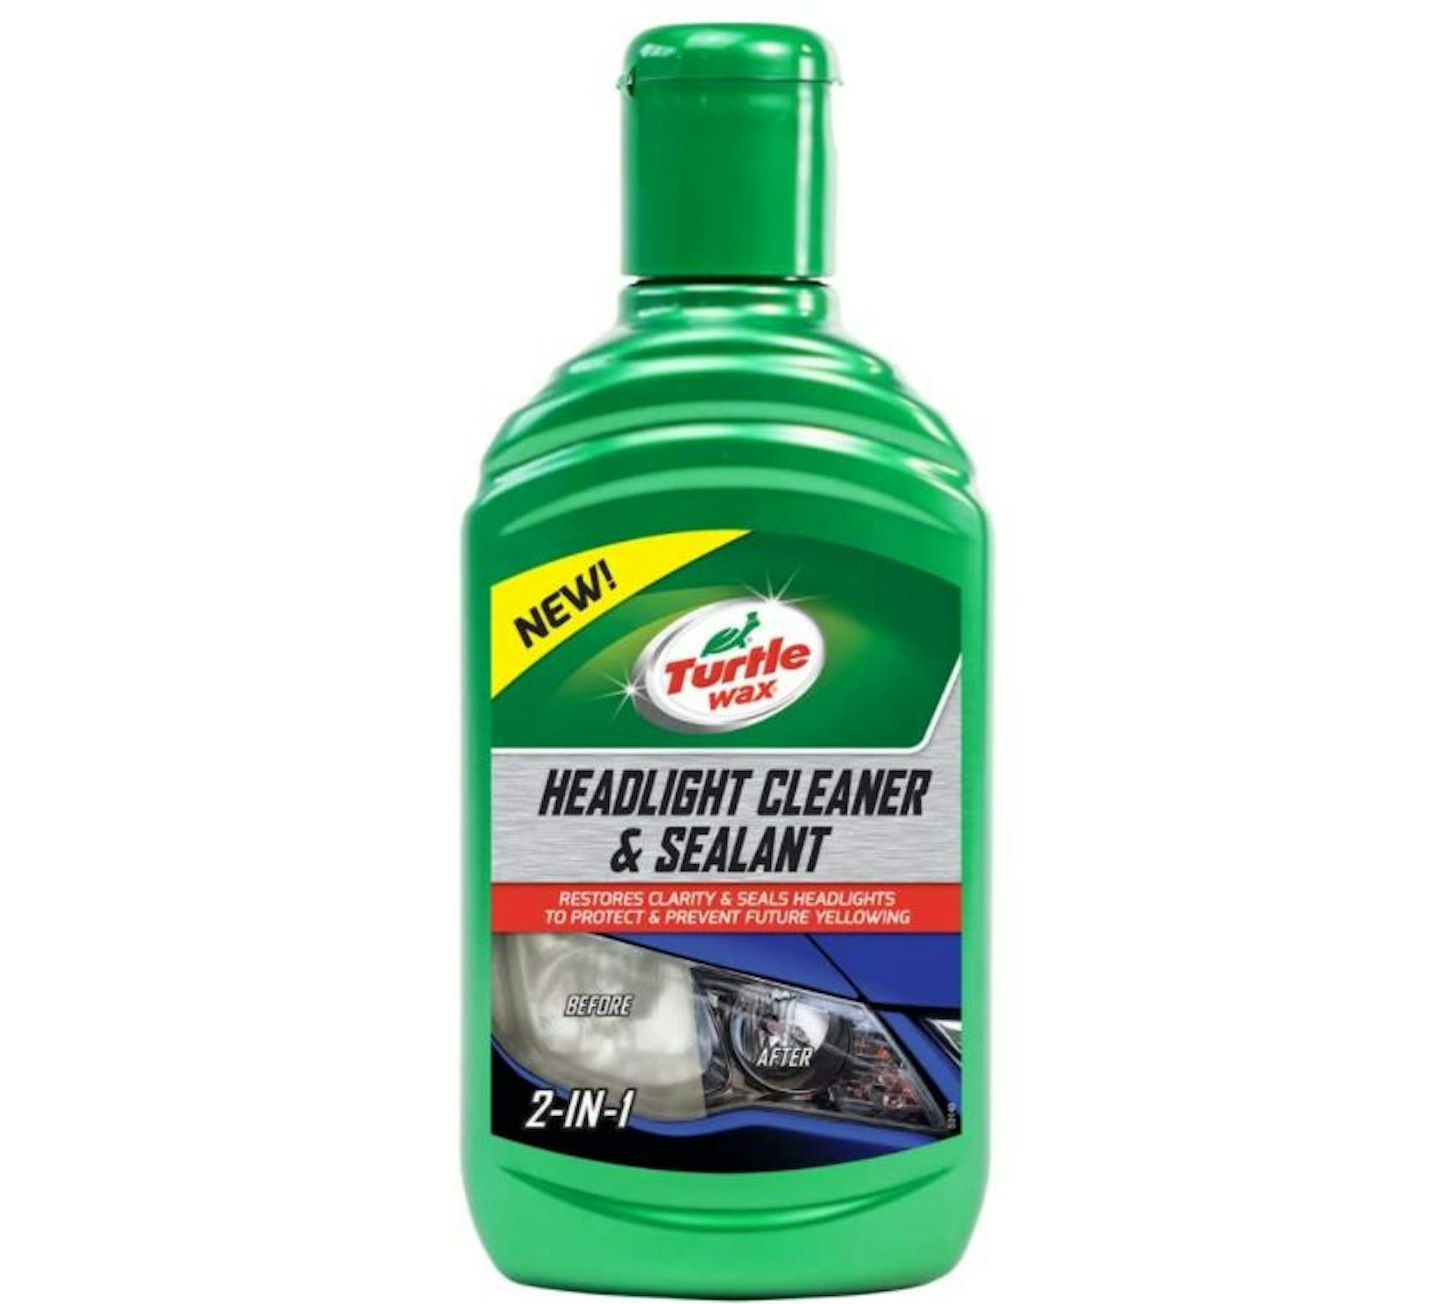
Best 2-in-1

For upkeeping the condition of your headlights and for minor degradation, this is a great option. It's cost-effective and fast. The 300ml bottle lasts a while and is very easy to apply. It's good for minor hazing but for scratches and severe yellowing, use a proper compound in one of the kits above.
Best headlight polish

When your headlight polish from the kit runs out we suggest using this for future restorations. The others are good but this is excellent. It's much better value for money too.
Headlight sealants:
There are a couple of top-notch options here, both easy-to-apply sprays. They are fantastic because they can be used not only on headlights but all exterior surfaces of your car and provide heavy, long-lasting UV protection.
Recommended
Ceramic coating (read our full guide here) is a recent and wonderful addition to the car cleaning world. It bonds very strongly to a surface, and is very hydrophobic, tough, and versatile, as demonstrated by this spray from Turtle Wax.
Recommended

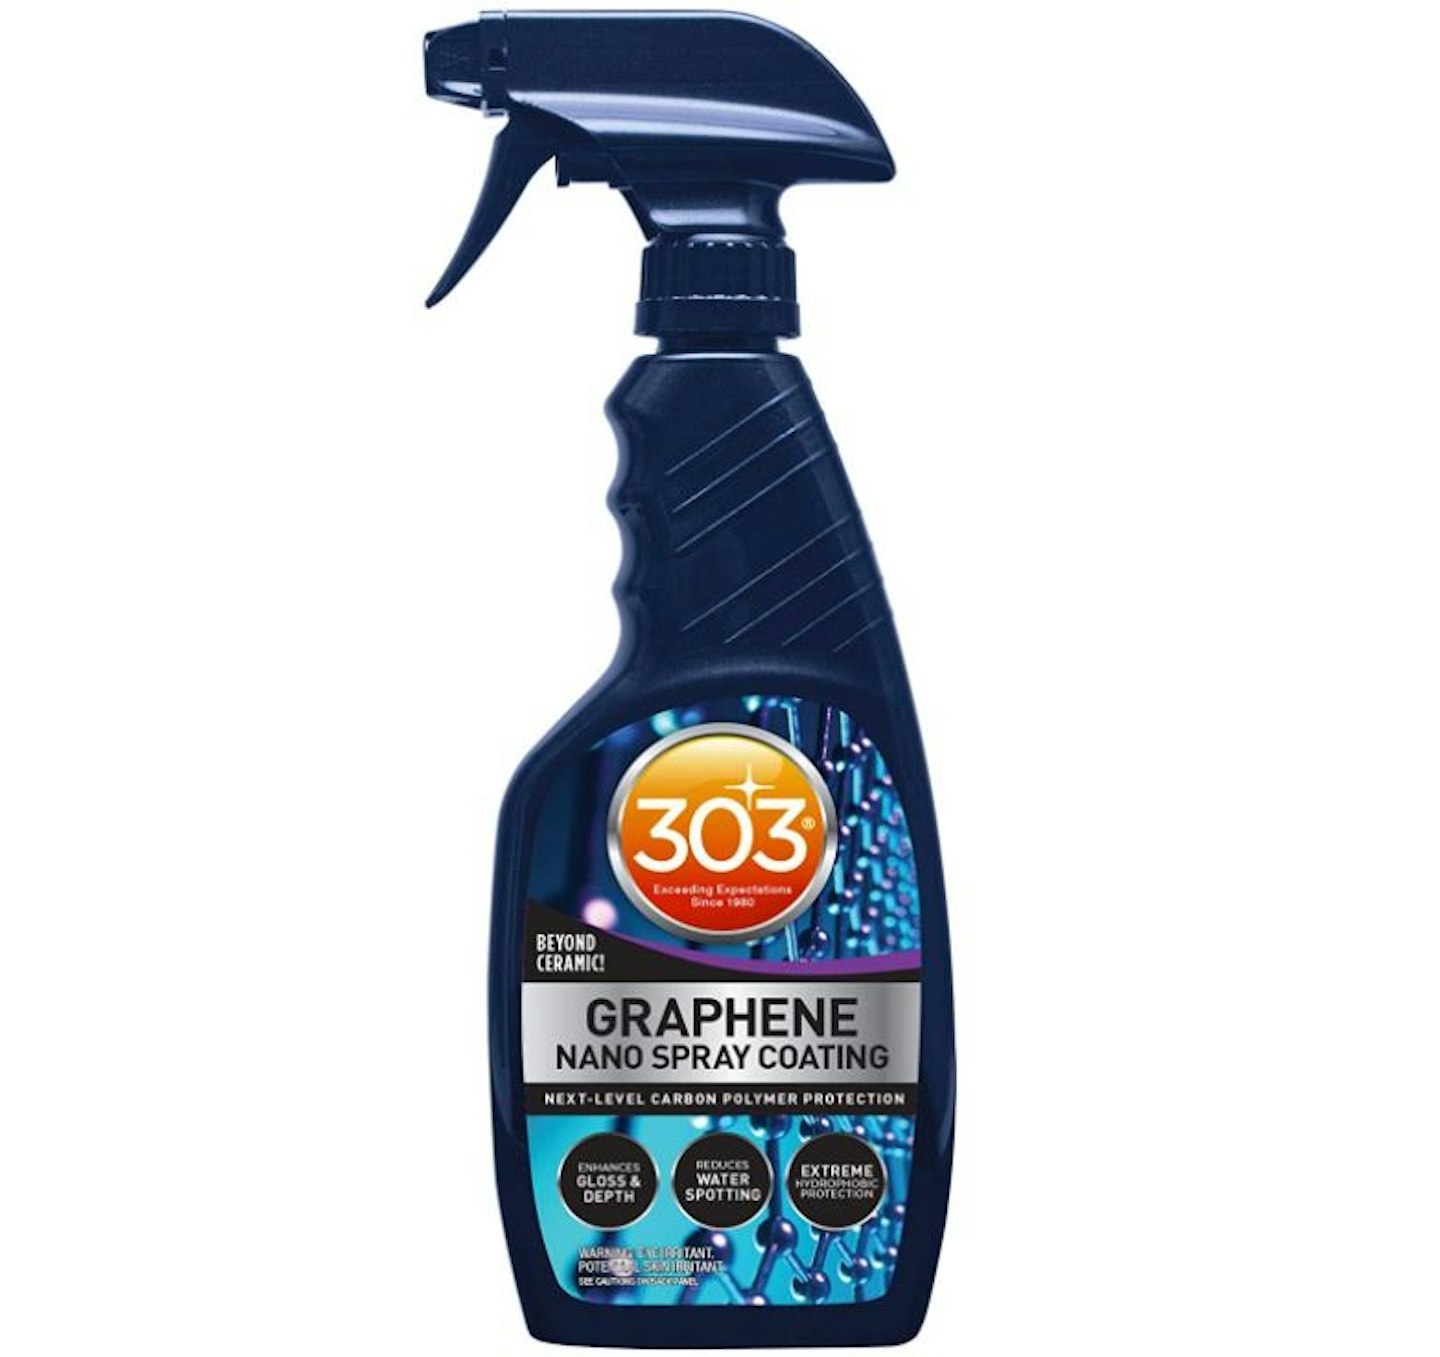
Similar in principle to the Turtle Wax ceramic spray, just a bit more. Ceramic coatings use Silicon dioxide, this uses graphene oxide. In a nutshell, it offers improved protection (including against UV) beyond what was a high benchmark set by ceramics. This too can be used on all exterior surfaces. There is a similar graphene product from Turtle Wax too, called Flex Wax that is just as good.
Headlight restoration accessories
Recommended
Masking tape specifically for car trim. Tape around the edge of your headlights before sanding to protect the surrounding paintwork. 50mm x 50 metres.
Best microfibre cloths for cars
Balancing quality and value is this set of five, 350gsm, 40cm x 40cm microfibre cloths. Ideal for all car cleaning, detailing, and polishing tasks.
Best DIY drill
Vying for top position as the best DIY drill on the market, the PSB 1800 LI-2 from Bosch has value, reliability, versatility, and power in its list of desirable traits. The Bosch PSB 1800 is the DIYer's best friend, not only for headlight restoration but for any home tasks demanding a drill. It can be bought as a bare tool only for those who already possess Bosch Power4All 18V batteries, or in a kit for those who donu2019t.
Related: Best waterless car wash products | The best car cleaning kits for comprehensive car care
How to use headlight restoration kits
Apart from the 2-in-1 Turtle Wax product, the kits above follow the same procedures for restoring degraded headlights. Once you have everything you need, you will need to:
1. Wash and dry the headlights in order to get rid of loose dirt.
2. Tape around the edges of the headlights. This is very important because the tape will protect surrounding paintwork from sanding pads that accidentally stray from the headlight.
3. Sanding. All the kits above come with a range of sanding pads with varying degrees of abrasiveness. Follow the instructions in your kit and work your way through the sanding pads, starting with the most abrasive through to the least. Both the sandpaper and headlights should be wet during the sanding process to keep the plastic cool and prevents grit build-up as you sand. Take your time and be fussy.
4. Once you have finished sanding, wipe clean and dry the headlights. Apply the polish, either by hand or with the drill pad provided in a circular motion to ensure even and full coverage.
5. Apply headlight sealant to protect your hard work. Not applying a protective sealant will mean headlights will degrade again very quickly. Follow the application instructions of each individual brand.
Related: The best portable battery chargers and jump starters
How to maintain clean headlights
Don’t polish headlights outside of using a restoration kit without applying a sealant on top. Polish is abrasive and will wear down the protective coating faster. So without adding a sealant on top, polishing alone is counterproductive.
Clean the headlights when washing the rest of your car to remove abrasive grit and acidic matter, such as bird poo.
UV rays degrade headlights. Park out of the sun where possible.
The 2-in-1 Turtle Wax is a fast and effective cleaner and protectant to apply on a more regular basis to keep your headlights clear. The Turtle Wax and 303 sprays are great all-around exterior protectants you can use to maintain the protective film on headlights.


